The answer is no, it is not really difficult to install. We have several clients, men and women who consider themselves non-manual who have managed to design wonderful projects.
Step # 1: Calculate the area to be covered

To know the number of boxes you will need to cover your wall, you must calculate and multiply the height of the surface of your wall as well as its width. You must then add 10% more to this area for the loss that will be caused when you are going to cut ends of the boards as when you are going to reach the end of a row. So if we take the example of a wall 144 inches wide (12 feet) and 102 inches high (8.5 feet). Here is the calculation:
Width: 12 feet
height: 8.5 feet
12 x 8.5 = 102 square feet
Loss: 102 x .10 = 10.2 feet
102 square feet + 10.2 square feet = 112.2 square feet
The boxes contain 14 square feet of wood so:
112.2 square feet / 14 square feet = 8,014 boxes
In this example you would need 8 boxes, but if you are having trouble figuring out the correct amount, please write to us on the live chat or email or Facebook 🙂
Here is a calculator to help you define the number of boxes so you need
Here is a calculator to help you define the number of boxes so you need
Step # 2: Prepare the surface that will receive the boards

Before you start, you will need to make some small preparations. Since barn wood planks are genuine and authentic and come from centuries-old buildings, some may have small holes no larger than the size of a pencil in diameter. So you have 2 choices, the first is to paint your wall a dark color so that the holes do not appear and the second is to buy what is called wood paste to fill the holes.
Then you must clean your wall with a damp cloth and then let it dry, this will allow the wall to have a smooth surface ready to receive the wooden planks.
You must also unscrew the plates located on the sockets and switches, you can put them back at the end of the project.
Step # 3: The Tools You Need

You are going to need:
1- A pneumatic nailer / stapler or hammer.
2- 3/4 to 1 ” nails
3- A knife with a retractable blade (exacto)
4- A spirit level of one meter
5- A lead pencil
6- A square
7- A tape measure
8- Miter saw or ordinary saw
9- Your barn wood boxes
Step # 4: Installing the planks

You can build your project from the bottom up or from the top down. Some people like to place the boards on the floor and mount their design before nailing the boards to the wall. Others will nail them directly to the wall.
The planks are 2-5 inches, so it is best to place the rows this way: 1 inch barn wood planks together, on another row put the 5 inch planks along with the 2 and 3 inch planks to keep the same width. 4 inch planks can be installed with 2 x 2 inch planks. (see the installation video).
The boards should be nailed by putting the nails at an angle on the boards, this will give them more stability than nailing straight. You must put approximately 10-15 nails per plank, go there to the eye so that it is stable.
When you get to a place where there is an electrical outlet, use your miter saw or regular saw to cut the board. (see the installation video).
CONCLUSION:
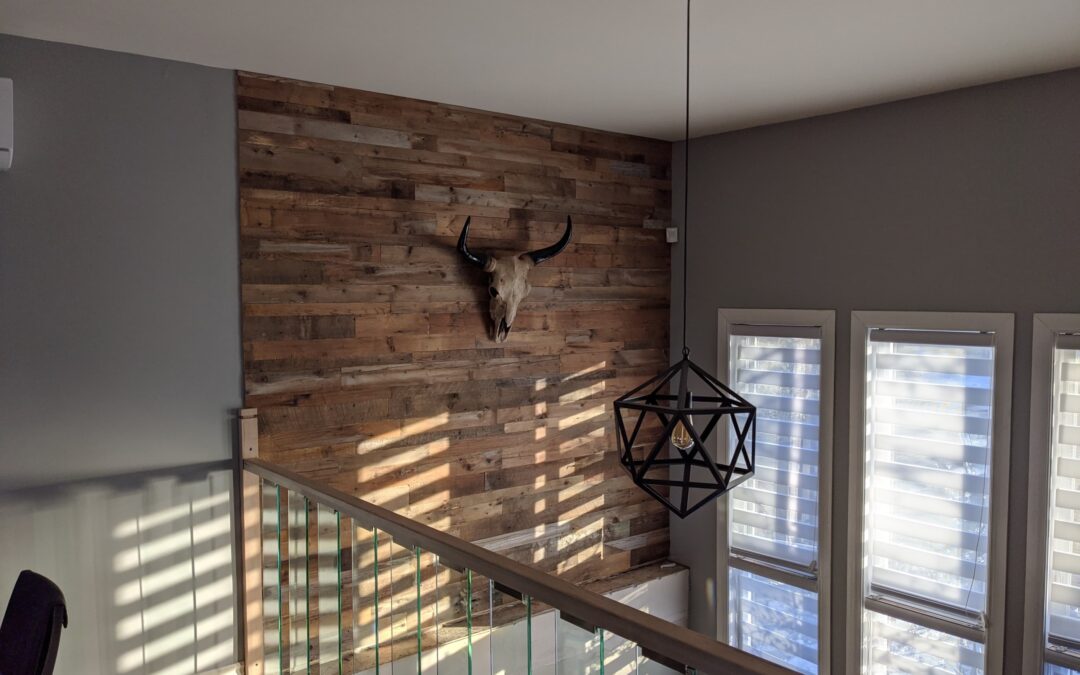
As we have shown you, building a barn wall is not that difficult. It takes a bit of preparation, a few tools, and following 4 easy steps.
Here are the 4 easy steps to build a beautiful barn wood wall:
- Calculate the area
- Prepare the surface that will receive the wood
- Get the right tools
- Install the boards
If you would like help or information to help you with your project, do not hesitate to contact us on the online chat or on our contact page 🙂